Troubleshooting & Replacing Motherboard Capacitors: A Comprehensive Guide
2025.02.01
Like tiny power reservoirs on your motherboard, capacitors are critical for stable system operation. They filter and regulate voltage. When these components fail, your PC may experience instability or fail to boot. This guide will cover everything you need to know about motherboard capacitor diagnosis, replacement, and best practices, ensuring your system stays powered.
Understanding the Role of Capacitors on a Motherboard
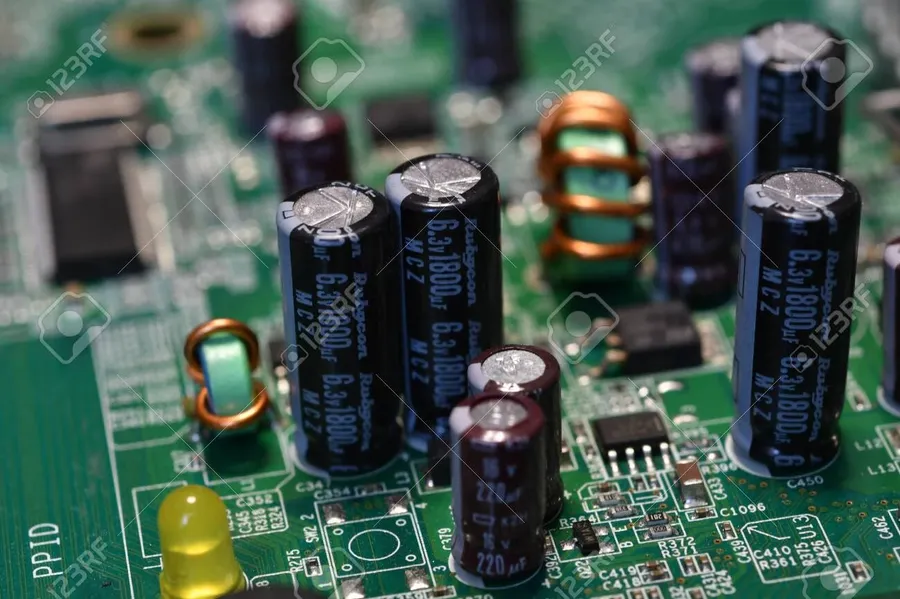
Motherboard Capacitors
Capacitors are fundamental electronic components on a motherboard, crucial for maintaining stable and reliable operation of the system. Their primary functions revolve around managing electrical energy: filtering DC power, regulating voltage, and storing electrical charge. By performing these roles, capacitors contribute significantly to the smooth functioning of the various electronic circuits on the motherboard, thus ensuring overall system stability and performance.
Power Filtering Capacitors act as filters to smooth out fluctuations or noise in the DC power supply. This ensures that the various components of the motherboard receive a clean and stable power source, preventing damage and improving performance.
Voltage Regulation Capacitors assist voltage regulators in maintaining consistent voltage levels across the motherboard. This is vital for the precise functioning of sensitive electronic circuits, ensuring that components operate within their specified voltage ranges and preventing damage from voltage spikes or drops.
Energy Storage Capacitors store electrical energy and release it when needed, providing a temporary buffer. This allows the motherboard to manage sudden changes in power demand, supporting brief bursts of activity and preventing power-related system instability.
Common Types of Motherboard Capacitors
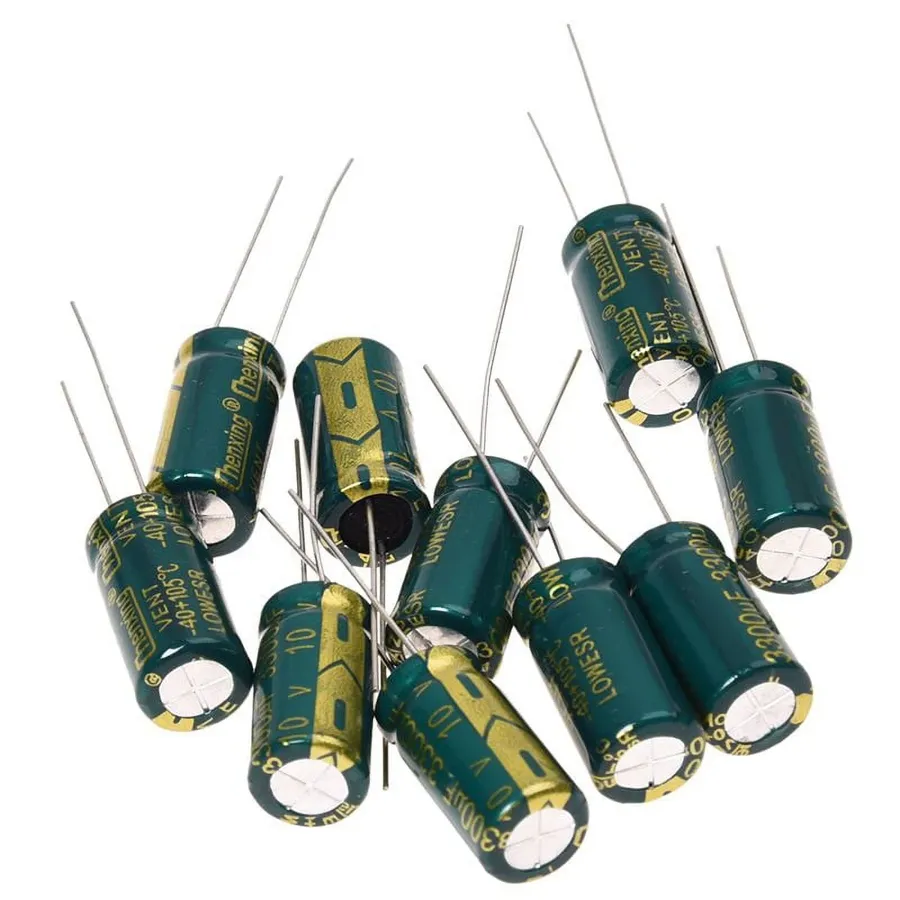
Electrolytic Capacitors
Motherboard capacitors, essential for stable power delivery and signal filtering, come in various types, each with unique characteristics and applications. Understanding these differences is crucial for troubleshooting and replacement. Primarily, we encounter electrolytic, solid polymer, and ceramic capacitors on modern motherboards.
Capacitor Type
Description
Pros
Cons
Typical Applications
Markings
Electrolytic Capacitors
Utilize a liquid electrolyte, offering high capacitance in a small package.
High capacitance, low cost.
Prone to drying out, bulging, and leaking; shorter lifespan, temperature sensitive.
Power supply circuits, voltage regulation.
Typically marked with capacitance, voltage, and temperature rating; often have a stripe indicating polarity.
Solid Polymer Capacitors
Use a solid polymer electrolyte, providing improved stability and longevity.
Extended lifespan, better temperature stability, lower ESR (Equivalent Series Resistance).
Higher cost compared to electrolytic, may have lower capacitance for the same size.
CPU voltage regulators, high-frequency circuits, where stability is critical.
Often marked with capacitance and voltage; may have alphanumeric codes
Ceramic Capacitors
Utilize ceramic material as the dielectric; very stable and reliable.
Excellent high-frequency performance, very stable, long lifespan.
Low capacitance values, typically used for high-frequency filtering, physically smaller.
Filtering high-frequency noise, signal decoupling.
Typically marked with alphanumeric codes representing capacitance; polarity is not a factor.
Symptoms of a Failing Motherboard Capacitor
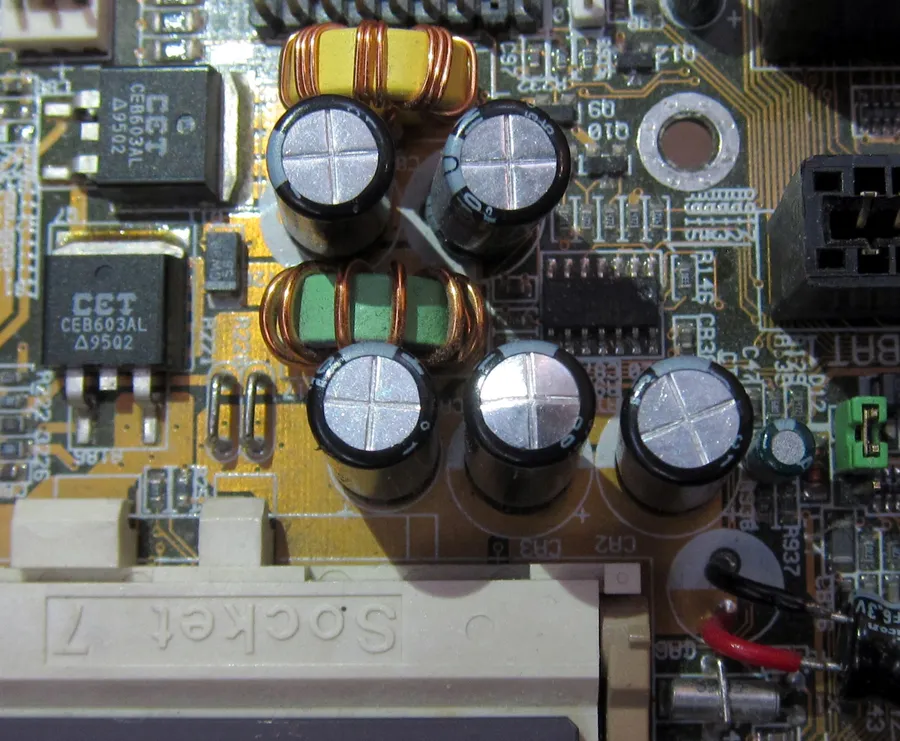
Bulging Capacitor
Failing motherboard capacitors exhibit several telltale signs that can indicate imminent or existing problems. These symptoms, if recognized early, can prevent more severe damage to the system. Recognizing these signs early is crucial for maintaining the stability and longevity of your computer.
Bulging or Swollen Tops One of the most obvious signs of a failing capacitor is a physical deformation. A healthy capacitor has a flat top, while a failing one will often bulge or swell outwards due to internal pressure from overheating or chemical breakdown. This is a clear visual indication of a serious problem.
Leaking Electrolyte Electrolytic capacitors contain a liquid electrolyte. When these capacitors fail, this electrolyte can leak out, leaving a crusty or oily residue on the motherboard. Such leakage is a critical sign that a capacitor has failed or is nearing failure and requires immediate attention.
System Instability Failing capacitors can cause a range of system instability issues. These include random system freezes, unexpected restarts, and the dreaded 'blue screen of death' (BSOD). These are due to the capacitor’s inability to maintain a consistent flow of power.
Random Crashes Capacitor failure can result in erratic system behavior, often manifesting as sudden and unpredictable crashes. These crashes can occur during demanding tasks or even when the system is idle, making it difficult to pinpoint the exact cause without a thorough inspection.
Boot Failures A faulty capacitor may prevent the system from booting up correctly. You might experience issues such as the system not powering on, getting stuck at the BIOS screen, or failing to load the operating system. These issues arise from the unstable power supply that can result from bad capacitors.
Error Messages In some cases, failing capacitors can trigger error messages during the boot process or while using the system. While these error messages might not directly point to a capacitor problem, they can indicate that the motherboard is not functioning correctly and need a more detailed examination. These messages can include issues related to memory, hard drives, or other components.
DIY vs. Professional Motherboard Capacitor Replacement
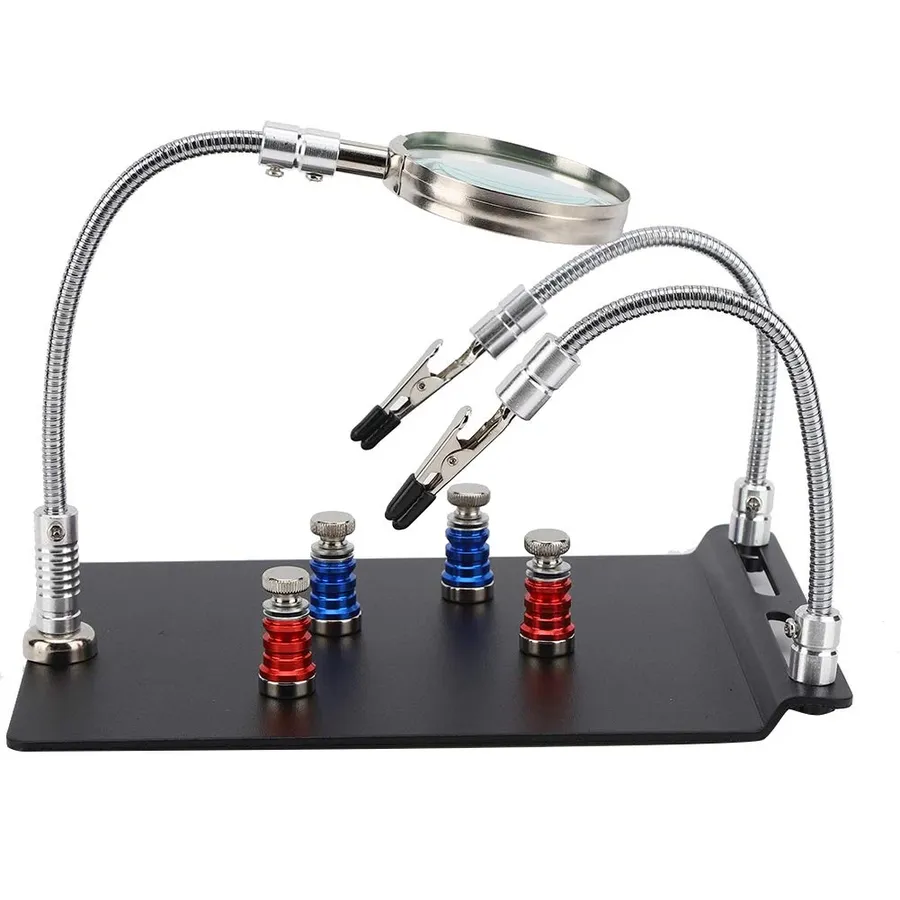
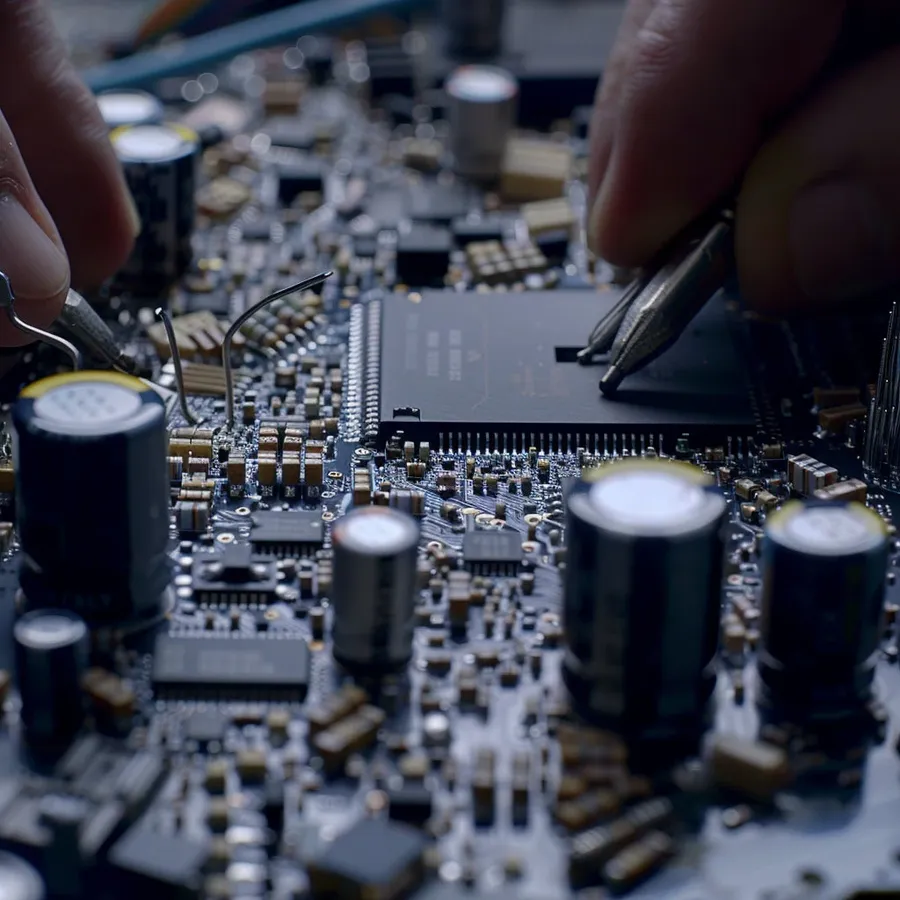
Repair Workbench
Deciding whether to replace a motherboard capacitor yourself or seek professional assistance is a critical decision that hinges on your technical skills, available resources, and risk tolerance. Both paths offer distinct advantages and disadvantages that warrant careful consideration.
Factor
DIY Replacement
Professional Service
Expertise Required
Moderate to High (requires soldering skills and component knowledge)
Low to None (handled by skilled technicians)
Risk of Damage
High (potential for motherboard damage or personal injury if not done correctly)
Low (professionals have experience and specialized tools)
Tools Needed
Soldering iron, desoldering braid, flux, multimeter, safety glasses, etc.
Generally not needed (provided by the service)
Cost
Lower (cost of components and tools)
Higher (includes labor and overhead costs)
Time Investment
Significant (can take several hours, depending on experience)
Lower (typically a few days turnaround time)
Warranty
No Warranty (unless mistakes are made or component fails)
Often comes with a limited warranty on the repair.
DIY replacement is a viable option for individuals comfortable with electronics repair and soldering. However, it is crucial to acknowledge the potential risks involved. Improper soldering techniques can result in irreparable damage to the motherboard, rendering it useless. Furthermore, incorrect capacitor installation or selection could cause further issues and could cause additional damage to the motherboard or system.
Opting for professional repair guarantees the work will be performed by experienced technicians equipped with specialized tools, significantly reducing the risk of damage. While this option carries a higher cost, it also provides a degree of assurance and, typically, a warranty on the repair. This added security is beneficial for those who value a reliable and safe fix. If you are not extremely experienced with soldering and handling PCB, this option is strongly recommended.
Tools and Materials Needed for Motherboard Capacitor Replacement
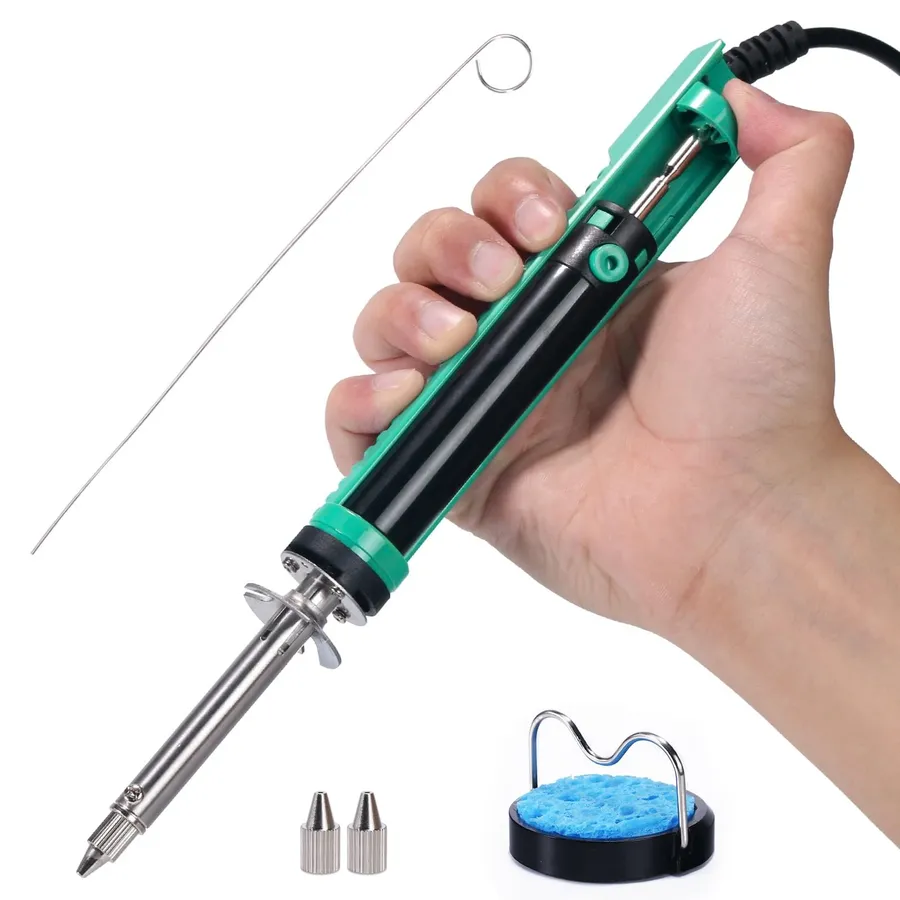
Desoldering Tools
Replacing motherboard capacitors requires specific tools and materials to ensure a successful and safe repair. This section outlines the necessary equipment, emphasizing quality and safety, to guide users in preparing for the replacement process.
Tool/Material
Description
Recommendation
Soldering Iron
Used to melt solder for attaching the new capacitor. Temperature control is essential for delicate motherboard work.
Adjustable temperature soldering station with fine tips (e.g., Hakko FX-888D, Weller WE1010).
Desoldering Braid (Solder Wick)
Copper braid used to absorb excess solder when removing old components.
Tin/lead (Sn/Pb) or tin/silver/copper (SAC) alloy, used for making electrical connections. Lead-free solder is environmentally friendly, but often has a higher melting point and requires more skill.
63/37 Sn/Pb solder for ease of use, or SAC305 for lead-free alternatives.
Flux
A chemical cleaning agent that improves solder flow and adhesion by reducing oxidation. Essential for effective soldering.
Rosin-based flux pen or liquid flux (e.g., MG Chemicals 8341).
New Capacitors
Replacement capacitors of the correct capacitance, voltage, and temperature rating, matching the original specifications.
High-quality capacitors from reputable suppliers (e.g., Mouser, Digi-Key), matching original specs or upgrading to higher temperature rating.
Multimeter
Used for checking continuity, voltage, and resistance. Essential for verifying capacitor polarity and circuit integrity after replacement.
Digital multimeter with accuracy and features such as diode check (e.g., Fluke 115, Uni-T UT61E).
Safety Glasses
Protects eyes from solder splashes and debris. Mandatory safety equipment.
ANSI Z87.1 rated safety glasses.
Tweezers
For handling small electronic components.
Anti-static tweezers with fine tips (e.g., ESD-safe tweezers).
Isopropyl Alcohol (IPA)
Used for cleaning the motherboard before and after soldering to remove flux residue.
90% or higher concentration IPA.
Small Brush
For cleaning debris and flux residue from the motherboard.
Anti-static brush or acid brush.
Magnifying Glass/Microscope
Aids in seeing small components and solder joints for precise work.
A magnifying lamp or a USB microscope for inspecting solder joints (e.g., AmScope microscope).
Step-by-Step Guide to Replacing a Motherboard Capacitor
Replacing Capacitor
Replacing a motherboard capacitor, while achievable with the right tools and care, requires a systematic approach to ensure a successful repair and avoid further damage. This guide provides a detailed, step-by-step walkthrough of the process.
Preparation and Safety Before starting, ensure the computer is completely powered down and unplugged. Disconnect all cables and remove the motherboard from the computer case. Work in a well-lit and ventilated area. Wear safety glasses to protect your eyes from solder and debris. Use an anti-static wrist strap to prevent electrostatic discharge (ESD) which can damage the motherboard's components.
Identify the Faulty Capacitor Visually inspect the motherboard for capacitors exhibiting signs of failure, such as bulging tops, leaking electrolyte, or discoloration. Note the capacitor's polarity, marked by a stripe on the capacitor body which corresponds to the negative lead and also note down the capacitor's capacitance, voltage, and dimensions for replacement.
Gather Your Tools and Materials Assemble the necessary tools, including a soldering iron with a fine tip, desoldering braid (also known as solder wick), flux, a multimeter, and the new replacement capacitor. Ensure the replacement capacitor has the same or higher voltage rating, the same capacitance and same physical dimensions as the original. A magnifying glass or microscope can be helpful for inspecting fine details.
Desoldering the Old Capacitor Apply a small amount of flux to the solder joints of the faulty capacitor's leads on the underside of the motherboard. Heat the solder joint with the soldering iron until the solder melts. Use desoldering braid to absorb the molten solder away from the joint. Repeat this for both leads. Once all solder has been removed, the capacitor should be loose and you can carefully remove it.
Preparing the New Capacitor If the new capacitor has leads that are too long, use a wire cutter to shorten them to an appropriate length, so they fit snugly into the motherboard holes. If necessary, pre-tin the leads with a small amount of solder.
Soldering the New Capacitor Insert the leads of the new capacitor into the appropriate holes on the motherboard, ensuring correct polarity. Reapply flux to the solder joints. Carefully solder each lead by heating the joint with the soldering iron and feeding a small amount of solder to create a solid connection. Avoid applying excess solder or excessive heat, which can damage the motherboard or the new capacitor.
Inspection and Testing After soldering, use a magnifying glass or microscope to carefully inspect the solder joints. Ensure there is a good, clean solder connection on both leads and no solder bridges (solder bridging between two pads) and no cold solder joints. Once satisfied with the connection, use a multimeter to ensure the replacement capacitor is working properly, by setting the multimeter to resistance mode and verify there is a proper contact and no shorts.
Reassembly Carefully reassemble the computer. Ensure all components are securely in place. Power on the system and verify proper operation.
Choosing the Correct Replacement Capacitor
Capacitor Sizes
Selecting the correct replacement capacitor for a motherboard is crucial for ensuring system stability and preventing damage. Mismatched components can lead to system malfunctions or even catastrophic failures. Therefore, understanding the key specifications and where to source appropriate replacements is paramount.
When selecting a replacement capacitor, it's imperative to match or exceed the original component's specifications. The key parameters to consider are:
Capacitance Measured in Farads (F), typically microfarads (µF) or nanofarads (nF) for motherboard capacitors. The replacement must match the original value. Using a lower capacitance is not advised as it can cause instability due to inadequate filtering capability.
Voltage Rating Indicates the maximum voltage the capacitor can withstand without failing. The replacement must have an equal or higher voltage rating than the original. A lower voltage rating can lead to capacitor failure and potentially damage other components.
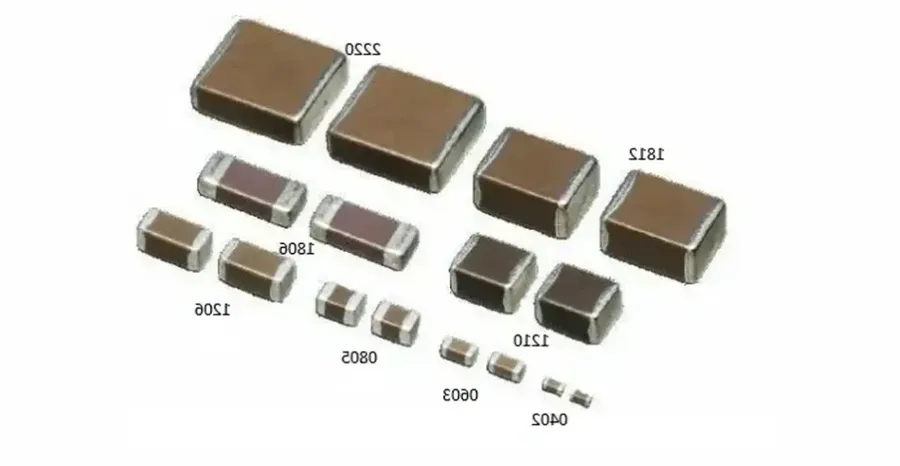
Physical Size (Case Size) The physical dimensions of the capacitor must match the available space on the motherboard. It is often designated by standard case sizes (e.g., 6.3mm x 11mm). A capacitor that is too large may not fit, and one that is too small may not be secured adequately. This ensures a snug fit and proper connection with the motherboard pads.
Temperature Rating Operating temperature tolerance, typically 85°C or 105°C for motherboard capacitors. Select a replacement with an equal or higher rating to ensure reliability under operating conditions. Choosing one with a lower rating can lead to reduced lifespan and potential failure of the capacitor.
Type Ensure that the capacitor type (e.g., electrolytic, solid polymer, ceramic) matches the original. Each type has its characteristics and performance trade-offs, and their functions are not directly interchangeable.
Equivalent Series Resistance (ESR) A parameter that impacts performance under high-frequency operation. Ensure that the replacement capacitor has similar ESR or the original datasheet specifies a maximum value.
Failure to match these specifications can result in unstable operation, component damage, or premature failure. It's highly advised to use a component with matching ratings. Under no circumstances, use capacitors with a lower voltage or capacitance than the original as this increases the risk of component failure and other system damages.
Sourcing Replacements:
Specialized Electronic Component Suppliers These suppliers are the most reliable place to source motherboard capacitors as they carry a vast selection of capacitors from reputable manufacturers with detailed specifications. Ensure to source from verified distributors and suppliers to avoid counterfeit parts.
Online Retailers Online retailers (e.g. Mouser, Digikey, Arrow Electronics, etc.) specializing in electronic components are generally a good source for original replacement capacitors. However, it is crucial to ensure that the vendor is reputable and that the listed specifications match with the original components on the motherboard.
Avoid Generic Marketplaces Generic marketplaces may carry capacitors, but the quality and authenticity of these components cannot always be guaranteed. Therefore, buying from these places could result in poor-quality parts that do not meet the specifications or prematurely fail.
Always prioritize genuine components from reputable suppliers to guarantee optimal performance and reliability. The small upfront cost difference will avoid future headaches.
Motherboard Capacitor Replacement FAQs
This section addresses frequently asked questions concerning motherboard capacitors, covering their function, failure modes, and the implications of their malfunction or removal. This information aims to provide clear answers to common concerns when dealing with motherboard capacitor issues.
What is the primary function of a capacitor on a motherboard? Capacitors on a motherboard primarily function as electrical energy storage devices and filters. They smooth out fluctuations in voltage, ensuring a stable power supply for the various components. They also play a key role in decoupling, preventing signal interference and ensuring the proper operation of sensitive circuits by storing charge and releasing it when needed. This leads to a stable and reliable computing system.
How can I identify a faulty capacitor on my motherboard? Visual inspection is often the first step. Common signs of a failing capacitor include bulging or domed tops, leaking electrolyte (a brownish or yellowish fluid), and physical damage like cracks or disconnections. Functionally, a bad capacitor can cause system instability, random crashes, boot failures, and general erratic behavior. Note, however, that not all capacitor failures are visually obvious. A multimeter can be used to check for deviations in capacitance.
Is it possible for a motherboard to operate correctly with a missing capacitor? While a motherboard *might* appear to function with a missing capacitor, it's generally not recommended or reliable for the long term. The missing capacitor can disrupt the power delivery and signal integrity of the affected circuit. The system might exhibit instability, reduced performance, or outright failure in the long run due to the increased stress on remaining components. The lack of the capacitor also prevents the circuit from working according to its design, which can cause damage to the motherboard or other components.
What are the consequences of a capacitor failure on a motherboard? When a capacitor fails on a motherboard, the consequences can range from minor annoyances to complete system failure. Some common consequences include system instability leading to the dreaded blue screen of death, random shutdowns, boot failures, and unpredictable behavior. In severe cases, the failure can cascade, potentially damaging other components and potentially rendering the motherboard unusable. A failing capacitor disrupts the smooth and stable delivery of power which leads to components working in unstable conditions and experiencing increased stress.
Can an exploded capacitor be fixed, and is it safe? An exploded capacitor is a clear indication of significant failure and *cannot* be repaired. Attempting to do so is dangerous. The electrolyte within the capacitor is often corrosive, and the internal components are likely damaged. Replacement with a new capacitor is necessary and should be performed by someone with adequate electronics repair experience. Attempting repair could lead to further damage of the motherboard.
What are the typical sizes of capacitors found on motherboards? Capacitor sizes on motherboards vary considerably depending on the type, voltage, and capacitance they are designed for. Common sizes include radial lead capacitors ranging from small 6.3mm to larger 10mm diameters with varying heights, as well as surface mount components (SMD) ranging from 2mm to 10mm or larger. Generally, physically larger capacitors have a higher capacitance, but specific dimensions also depend on the voltage ratings. The exact dimensions will usually be stated on the capacitor.
What causes motherboard capacitors to fail? Several factors can contribute to motherboard capacitor failure. Over time, electrolytic capacitors can dry out, leading to reduced capacitance and eventual failure. Excessive heat, either from the components themselves or inadequate cooling within the computer case, is a common culprit. Other causes include manufacturing defects, voltage spikes, and physical damage. Operating conditions, particularly at the high-end or overclocked systems, can shorten a capacitor's lifespan.
Troubleshooting After Capacitor Replacement
Even with meticulous capacitor replacement, unforeseen issues can arise. This section offers a structured approach to diagnosing and resolving common post-replacement problems, ensuring a stable and functional system.
System Instability and Random Crashes If your system experiences instability or random crashes after capacitor replacement, double-check the capacitor's polarity. Incorrect polarity can lead to operational instability. Additionally, verify that the replacement capacitor's specifications (capacitance, voltage, temperature rating) exactly match the original one, ensuring proper performance and reliability. Also check for any cold solder joints, which can cause intermittent issues.
No Power After Replacement If the system does not power on after capacitor replacement, meticulously examine all solder joints. A loose or poorly connected joint can disrupt the power circuit. Verify the power supply is functioning correctly by testing it with a multimeter or using a known good one. A continuity test will also check for a complete path to each newly soldered component.
System Powers On but No Boot or Display If your system powers on but does not boot or show a display, there may be a more serious issue with the motherboard, or the system RAM may have become dislodged during the process. Ensure that all other components are correctly installed. Carefully check for any shorts between solder joints using a continuity test mode on your multimeter. Sometimes, during replacement, small pieces of solder can cause a short if they are not cleaned.
Intermittent Shut Downs Intermittent shutdowns can be caused by incorrect replacement of capacitors that regulate current flow or any loose solder joints. Recheck all solder points for proper connection and ensure the specifications of each replaced capacitor match. Test the system using a diagnostic tool that will monitor the power usage, temperature, and voltage.
Unusual Noise Unusual noises after replacement may indicate that components were damaged during the replacement process, or that the solder joints were not fully connected, so that electricity is arcing across the connection. Examine and test all the points to ensure each is properly soldered.
Check for Solder Bridges Solder bridges, which occur when solder inadvertently connects two or more separate connections, can cause system malfunctions. Use a magnifying glass to look for any excess solder. Use a desoldering braid or tip to remove the excess solder.
Capacitors are essential components of any motherboard, impacting stability and performance. By understanding their function, common failures, and proper replacement techniques, you can keep your motherboard – and your entire system – running optimally. Armed with the knowledge in this guide, you can confidently tackle capacitor issues or decide when professional help is necessary. Remember, safety should be your top priority, always, when dealing with electronic components like motherboard capacitors.